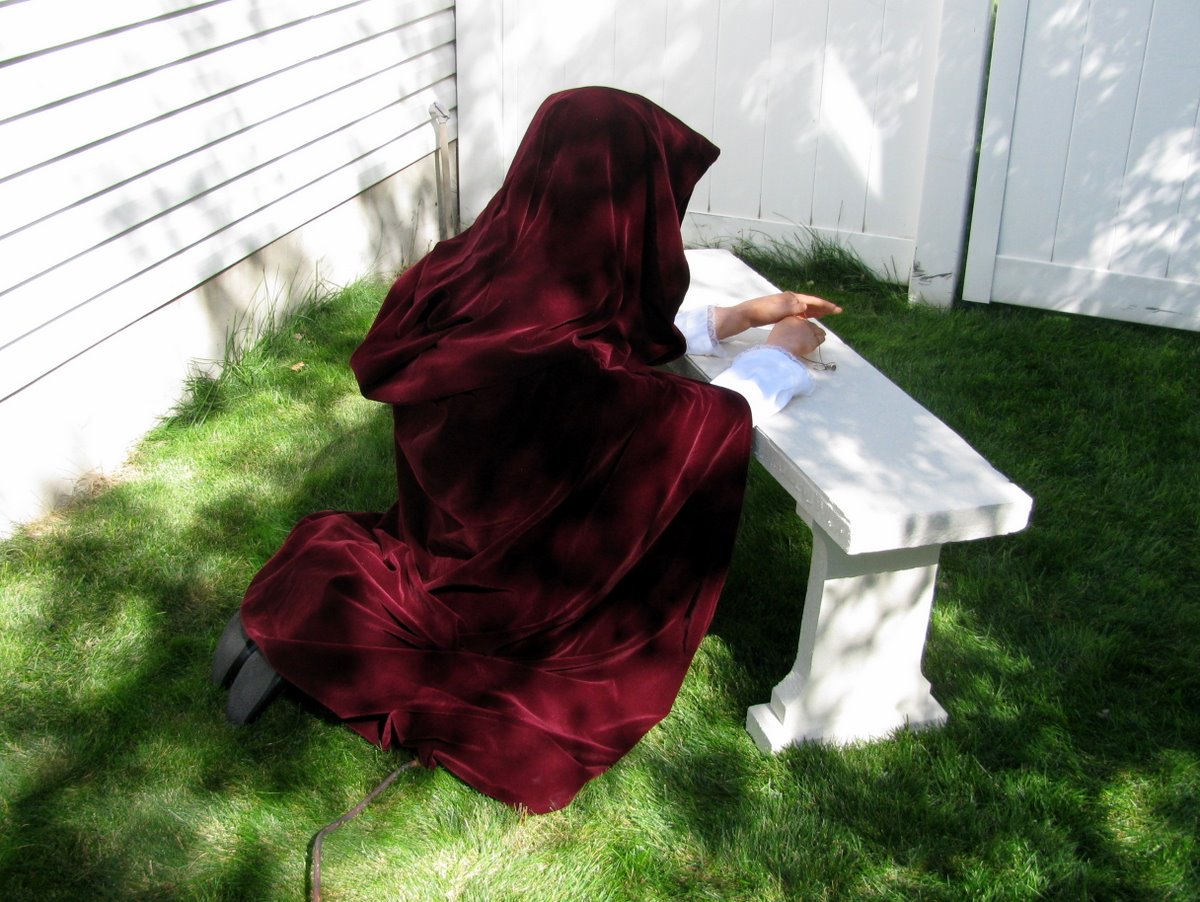
As we wanted to add some visitors to our cemetery, for 2011 we decided to create a woman mourner to cry over her dear lost loved one. What you see is a mysterious cloked woman kneeling at a stone bench in the cemetery. Her hands clasp a chain with 2 wedding bands as she looks on to her loved one's tombstone. She cries over and over, lifting her head and then lowering it as her sadness overcomes her.
This was my wife's idea which together we brought to life. We call her Lillian Grace, the "Weeping Widow".
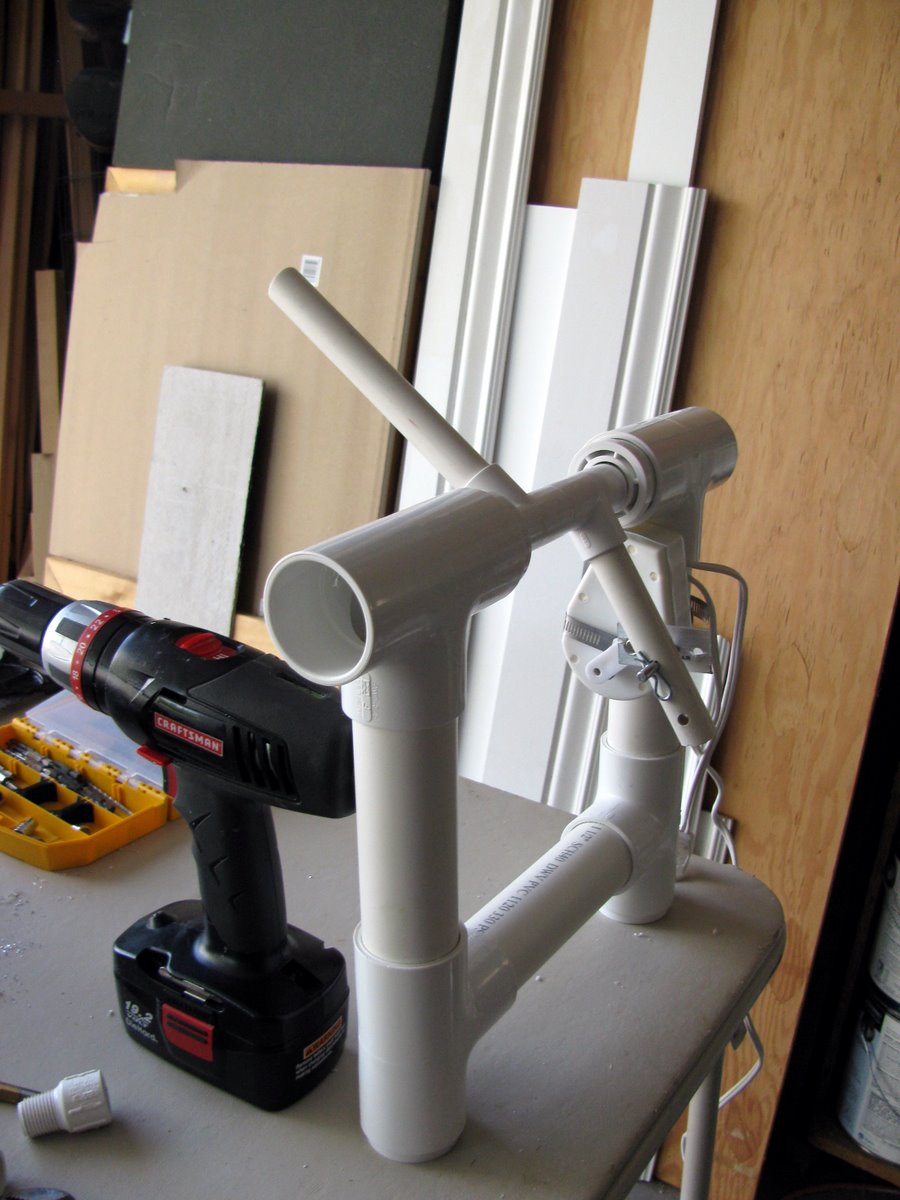
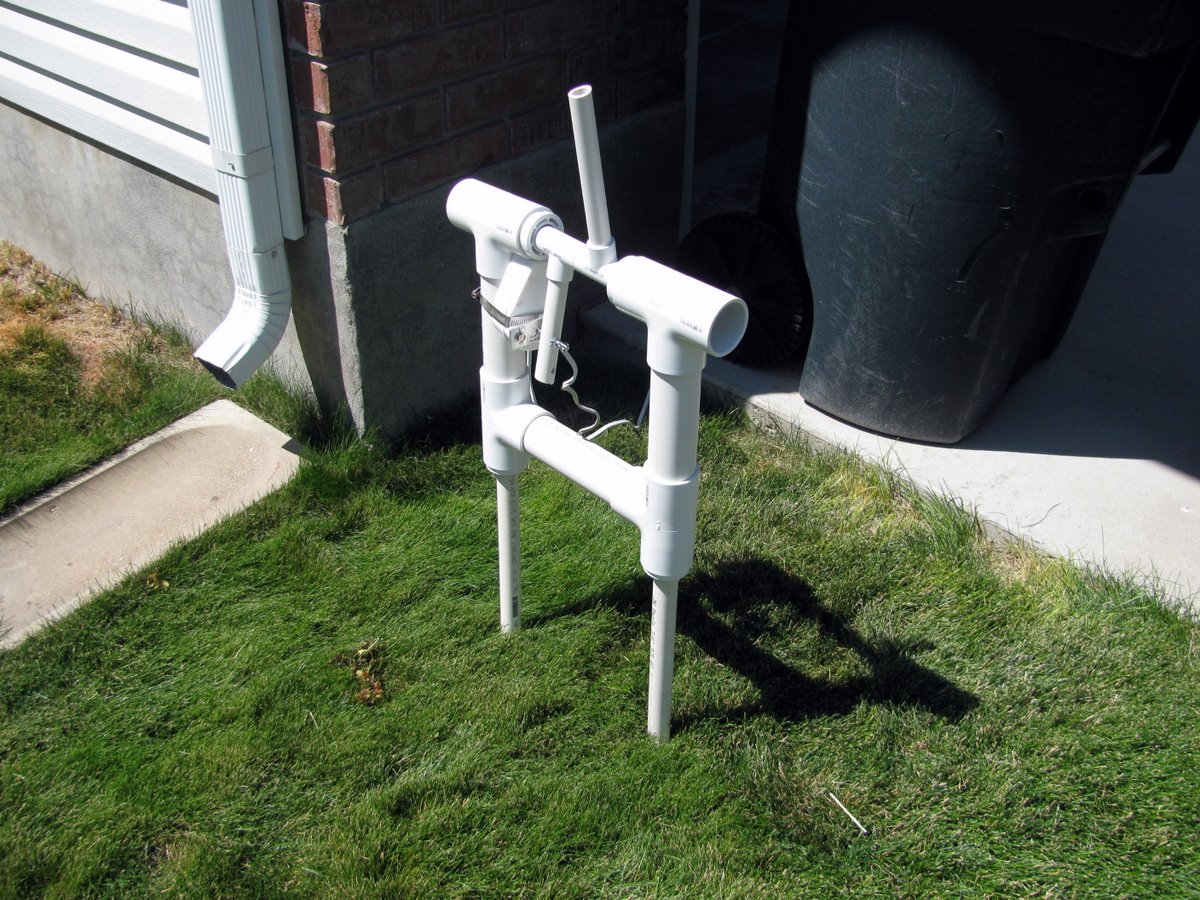
The structure for her is just PVC pipe, 1-1/2", 3/4" and 1/2". The motor is a Christmas reindeer motor that reverses direction when stopped. This enabled the widow to have a more interesting motion with her head lowering, raising back slightly, and then lowering again before raising again. The PVC frame slips over rebar in the ground.
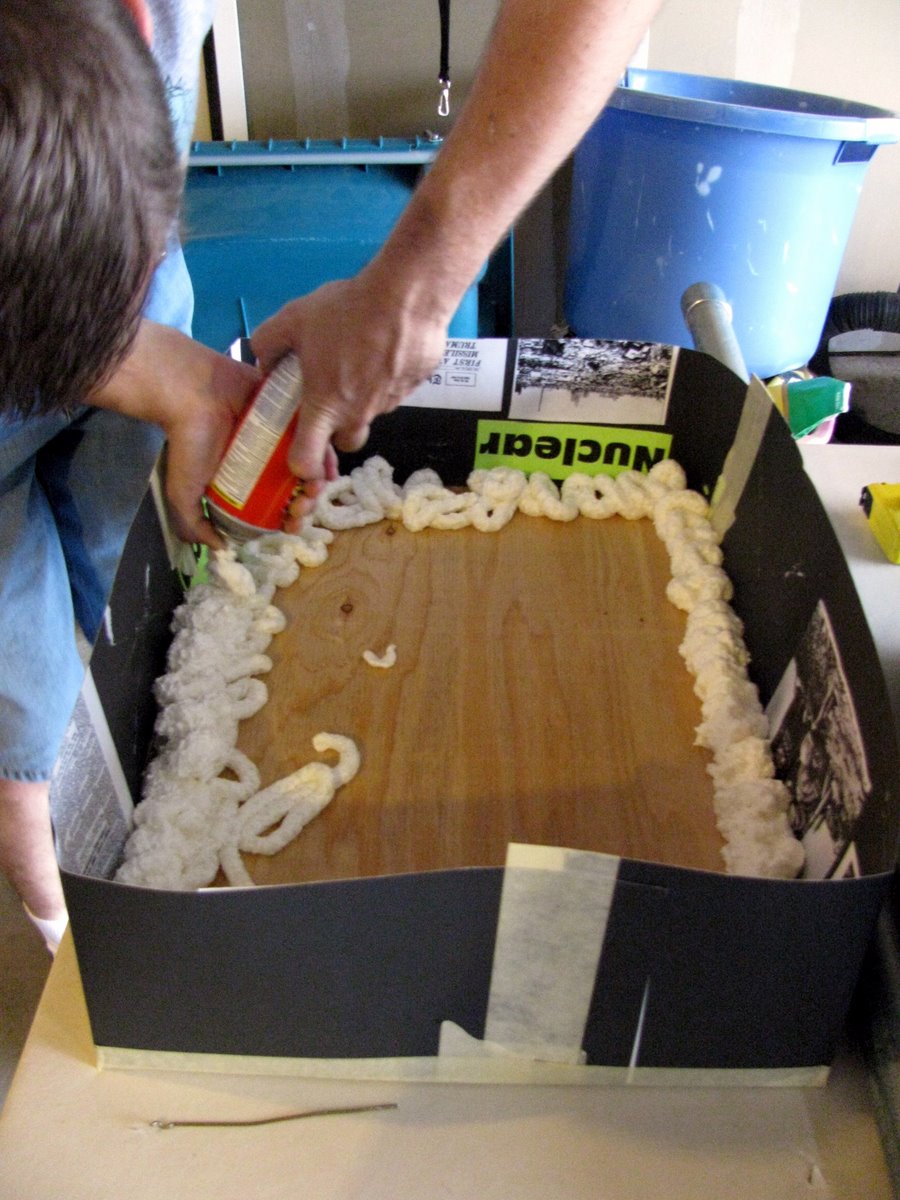
To the back of the PVC frame I cutout a piece of plywood and then built up a mass of expanding foam. From the foam I carved a more realistic backside of her torso to fill out the cloak. I recessed an opening to go around the motor/PVC movement mechanism. I zip-tied the plywood foam to the PVC frame. A stryofoam head was used, and the female closed hands were purchased from www.ghostride.com. We bought the cloak on eBay from the seller Sewfits.
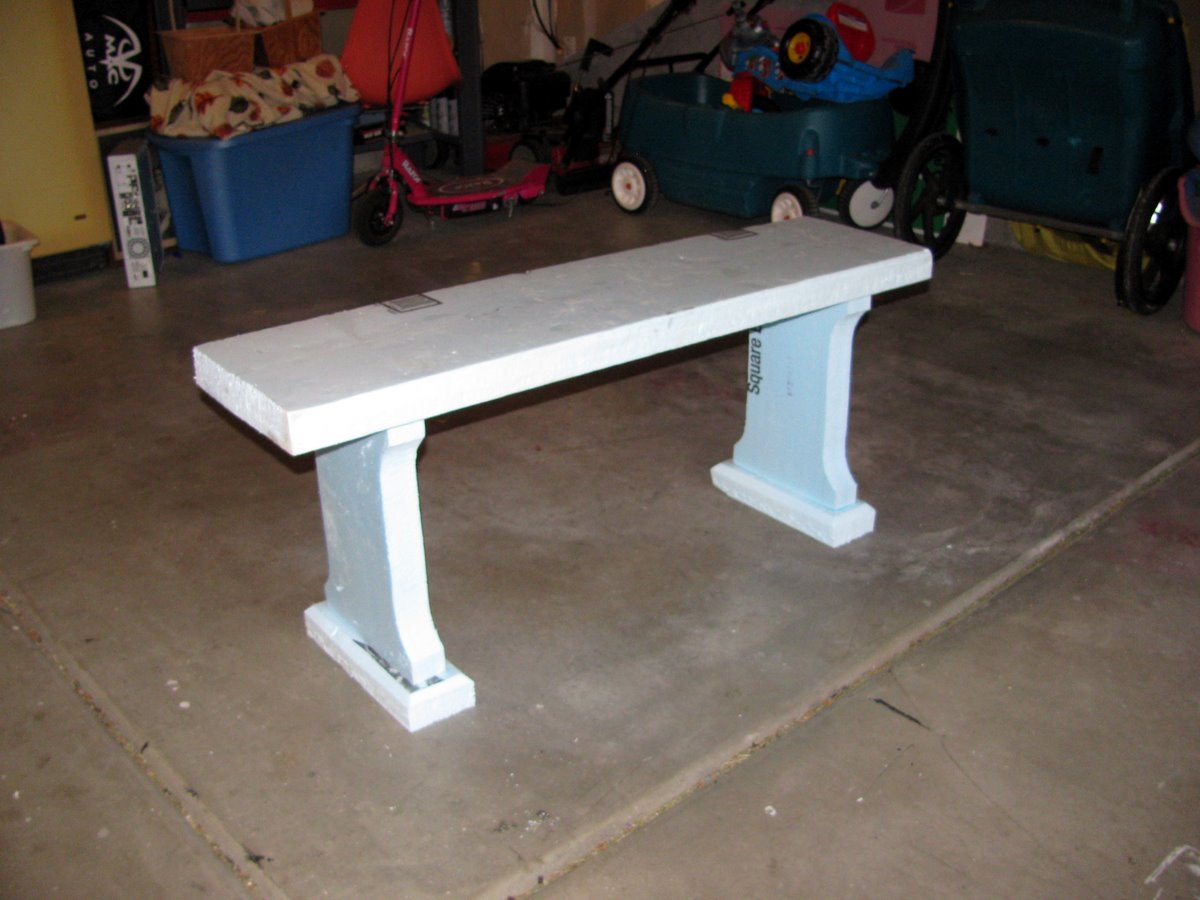
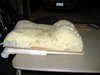
Lastly the bench was made from some leftover 2" Dow RS Styrofoam. The same blue foam used for making the tombstones.
Click for a video of the Weeping Widow...

Here are photos of the build and completed project...
 |
The foam bench before paint which was constructed for the widow to kneel by. |
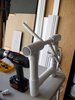 | The early PVC frame. The main sections are 1-1/2" with 3/4" later added at the bottom to cover the rebar. The pivot for the head was made from 1/2". It rests inside the 1-1/2" to 3/4" reducers. The reindeer motor is attached with a metal hose clamp. |
 |
A small piece of aluminum was used to attach the motor to the PVC arm. A hole is drilled for the cotter pin. |
 |
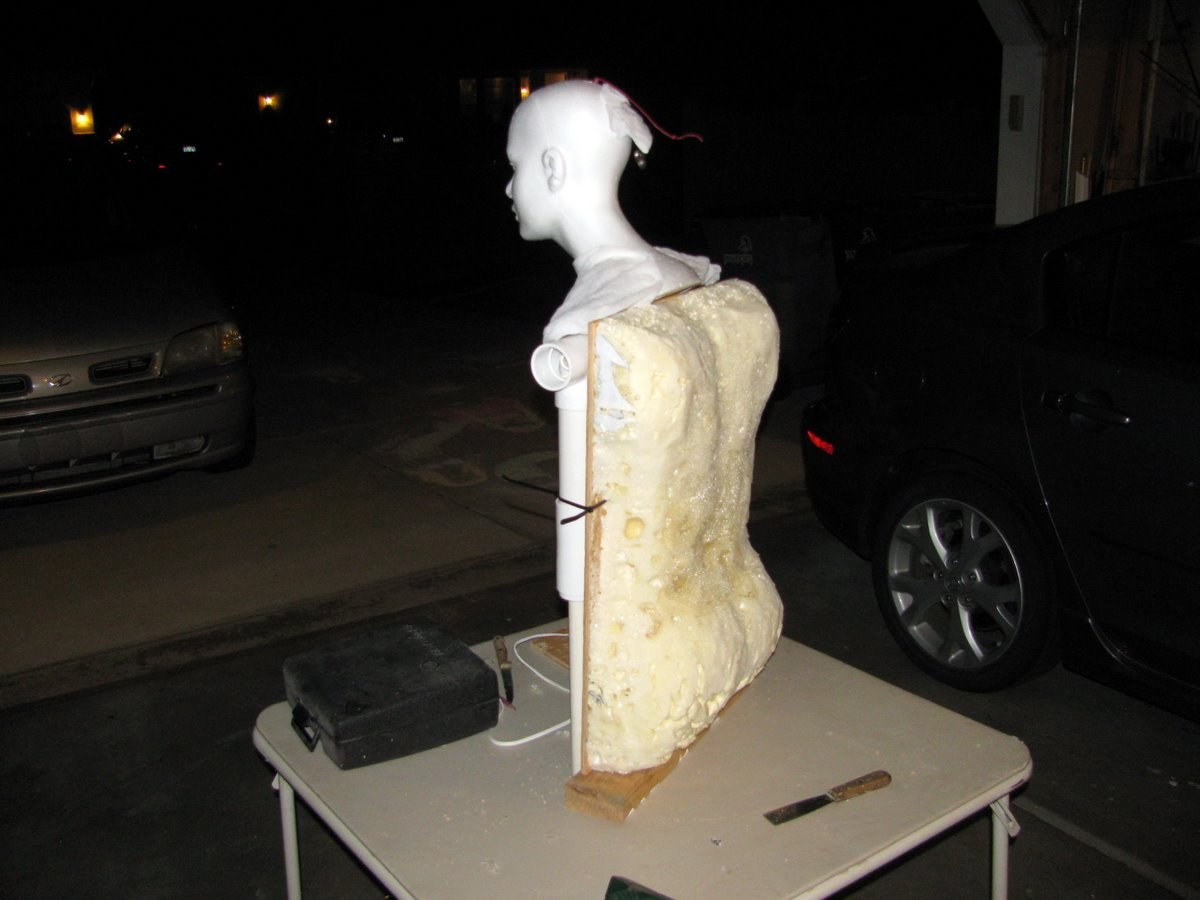
Fitting the wig form head onto the mechanism. |
 |
The frame placed over 2 pieces of rebar. 3/4" PVC at the bottom for this. |
 |
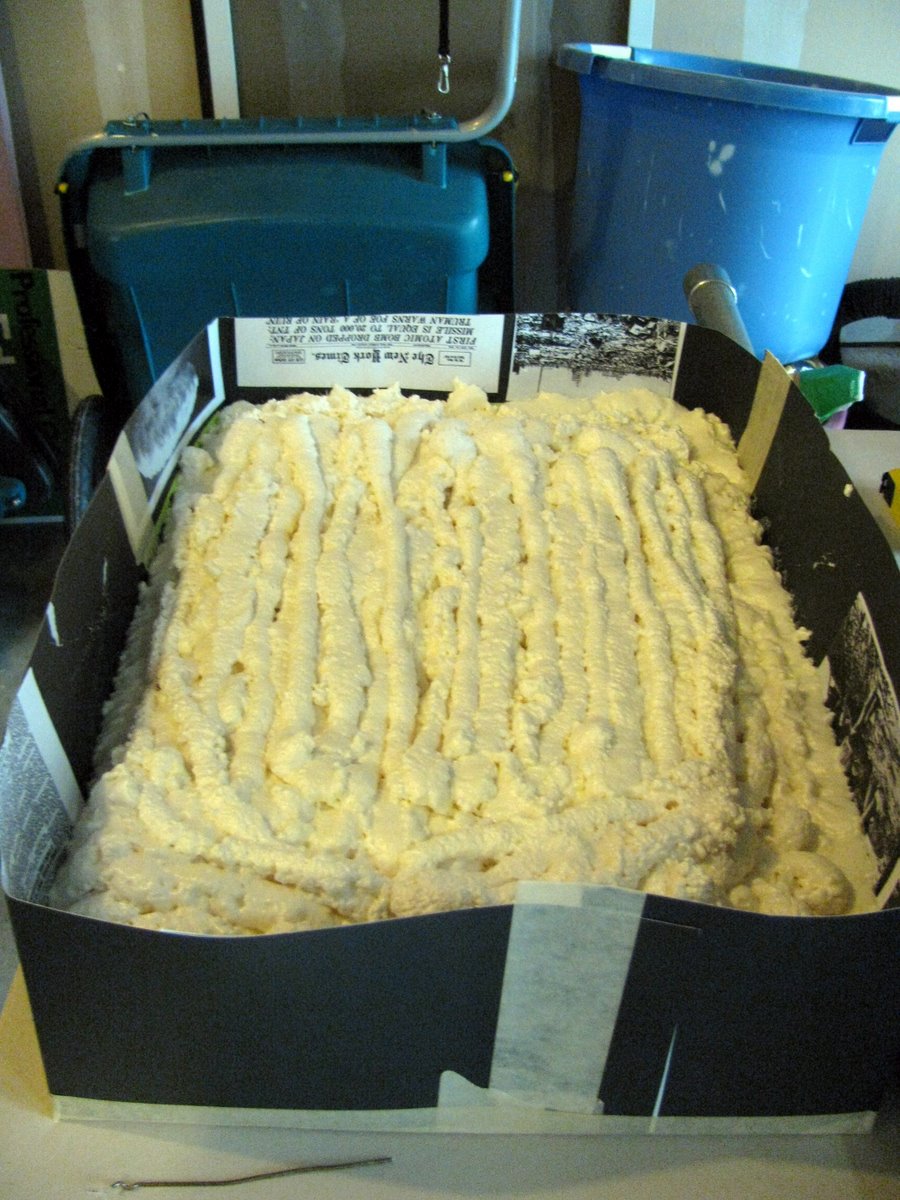
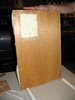
To make the back I cut a piece of plywood the size I needed, and then taped a temporary posterboard fence around it so I could fill it with expanding foam. |
 |
It took 2 of the 16 ounce cans and then dried overnight. |
 |
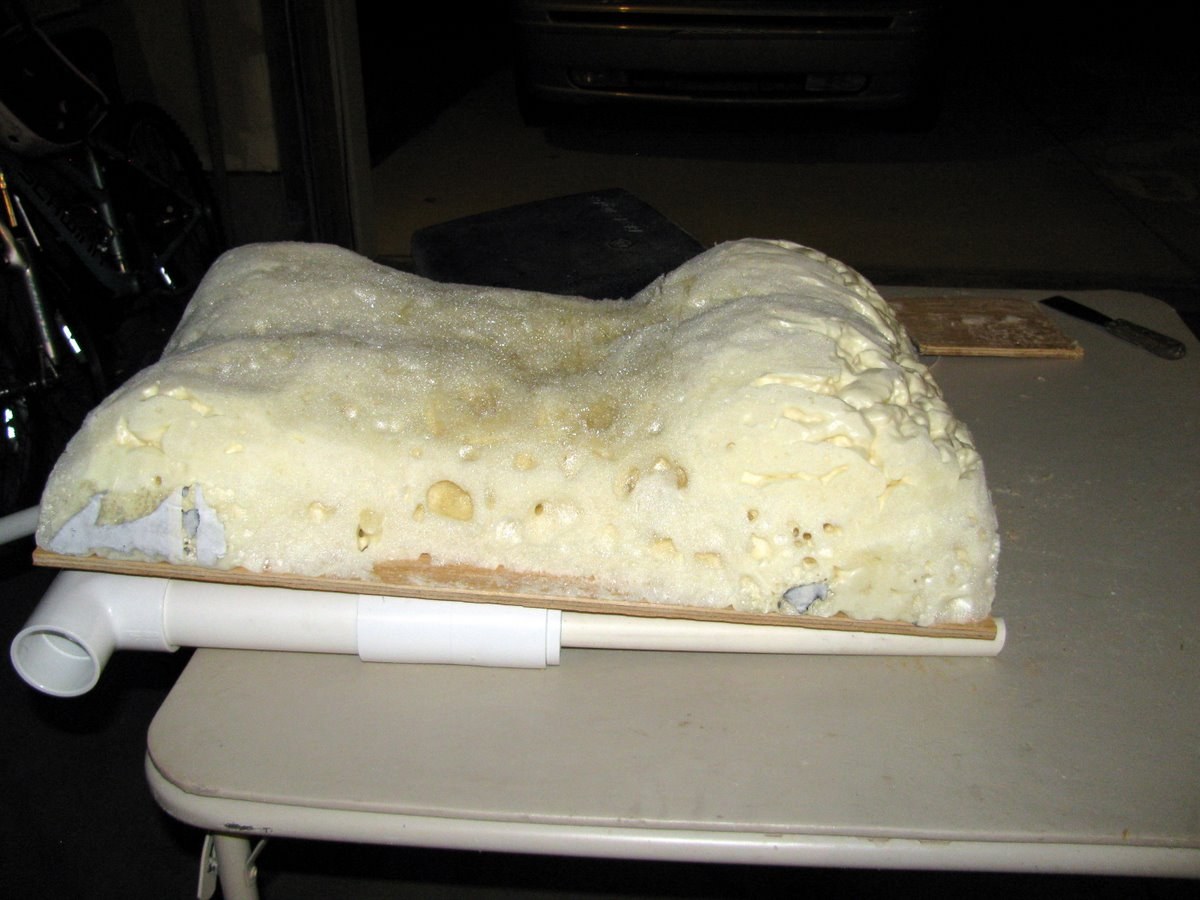
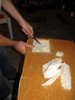
After it was dry I removed the paper around the foam and carved it to look like a torso back. |
 |
The hole cutout from the plywood back to allow for the motor. |
 | Carving out the foam for the motor and pivot arm. |
 |
The back side with the plywood and foam attached to the PVC frame. |
 |
The dimensions shown in the photo are cut lengths, so the finished length between the tees is smaller (9" of the 10.5" piece show, and 5" of the 6.5" piece). The overall width of the verticle pieces is 16". The overall width of the two shoulder tees is 18 1/4". The arms are hung with some 12 guage romex wire. The 1/2" tee for the head and neck was centered. Small screws were installed to hold all the pieces together. |
 |
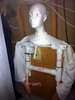
Here she is all dressed up and in action. This was a test run. |
 | Another angle of Lillian fully done. |